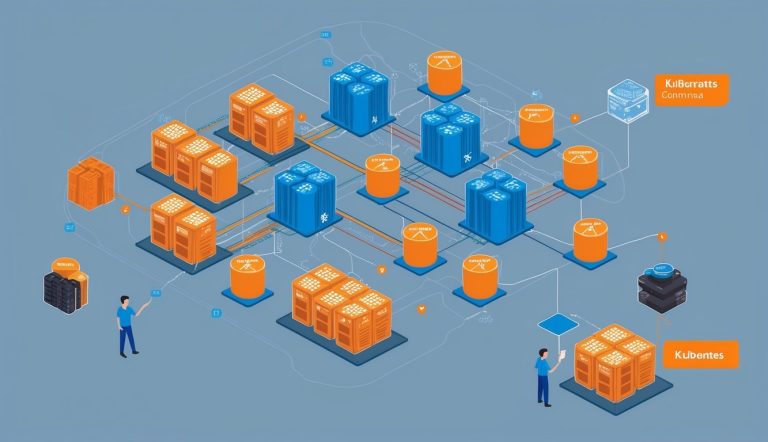
Master Node and Control Plane
The control plane calls the shots for the cluster and responds to events. It’s made up of a few must-know pieces:
kube-apiserver is the front door for the control plane. Every kubectl command you run goes through this API server first.
kube-scheduler checks for new pods that need a home and picks nodes for them. Scheduling decisions depend on things like:
- Resource needs
- Hardware or software constraints
- Where the data lives
- Whether workloads might mess with each other
kube-controller-manager runs processes that keep the cluster in line. Controllers include:
- Node controller: Watches node health
- Replication controller: Makes sure the right number of pods exist
- Endpoint controller: Connects services and pods
Worker Nodes and Pods
Worker nodes are the machines that run your containers. Each worker node has a few key pieces:
kubelet runs on every node and makes sure containers in a Pod are up and healthy. It takes PodSpecs and brings those containers to life.
kube-proxy works as a network proxy on each node, handling part of the Service concept in Kubernetes. It sets up network rules so your Pods can talk to each other—or to the outside world.
Pods are Kubernetes’ smallest deployable units. A Pod is a group of one or more containers that share storage and networking. You can use Pods two ways:
- Pods with a single container
- Pods with multiple containers that need to work together
Setting Up the Kubernetes Environment
Before you start running Kubernetes commands, you need an environment that’s set up right. The right foundation makes deploying, managing, and scaling containers with kubectl a whole lot easier.
Installing and Configuring Kubernetes
Start by installing the kubectl command-line tool. That’s your main way to talk to your cluster. Download it from the official Kubernetes website—just make sure you grab the right version for your OS.
# For Linux users
curl -LO "https://dl.k8s.io/release/stable.txt"
curl -LO "https://dl.k8s.io/release/$(cat stable.txt)/bin/linux/amd64/kubectl"
After installing, run kubectl version to make sure everything’s working. Set up access to your cluster by configuring the kubeconfig file (usually at ~/.kube/config).
If you work with multiple environments—dev, staging, production—use contexts to switch between them:
kubectl config use-context my-cluster-name
This way, you send commands to the right cluster without messing with configs every time.
Choosing the Right Infrastructure
Kubernetes runs on all sorts of infrastructure, and each has its perks. What you pick depends on your team’s needs and what your company allows.
Public Cloud Options:
- GKE (Google Kubernetes Engine) – Fully managed, with automatic updates
- AKS (Azure Kubernetes Service) – Tight integration with Azure
- EKS (Amazon Elastic Kubernetes Service) – Scales easily with AWS
On-Premise Solutions:
- Bare metal gives you full control but takes more effort to maintain
- OpenShift is enterprise-focused and supports on-premise deployments
If you want hybrid, check out tools like Rancher or Anthos to bridge cloud and on-prem. Resource needs change depending on workload, but honestly, you should start with at least 2 CPUs and 2GB RAM per node.
Using Minikube for Local Development
Minikube spins up a single-node Kubernetes cluster right on your laptop or desktop. It’s great for development and testing, and you’ll need a hypervisor like VirtualBox, HyperKit, or Docker to get it running.
Here’s how to install it:
# macOS
brew install minikube

# Linux
curl -LO https://storage.googleapis.com/minikube/releases/latest/minikube-linux-amd64
sudo install minikube-linux-amd64 /usr/local/bin/minikube
Kick off a cluster with minikube start—it creates a VM and sets up Kubernetes for you. If you want a specific version, try minikube start --kubernetes-version=v1.23.0.
Minikube also comes with handy developer commands like minikube dashboard for a visual UI and minikube tunnel for LoadBalancer services. You can even use its Docker daemon directly: eval $(minikube docker-env) lets you build images that show up right in your cluster.


